How to Make Effective Videos for Learning
Recording your lectures with self-made videos can boost student engagement.
STEP 1: BREAK YOUR CLASSROOM INSTRUCTION INTO MULTIPLE VIDEOS
Typically educators prepare their classroom instruction to last for most, if not all, of the time allotted for the class and include all the teaching objectives for the day. Video instruction, however, requires a different approach. Since student engagement viewing videos falls off more quickly than in-class instruction, it is more effective to segment the teaching objectives into multiple, short videos. Ideally, the videos should be just long enough to cover a single learning objective.
STEP 2: CREATE INSTRUCTIONAL MATERIALS THAT WORK FOR VIDEO
Slides created specifically for a video presentation engage students in a different way than traditional methods, like, for example, overhead projector slides. What may work on a large screen at the front of the classroom probably won’t work as well when viewed on a TV, computer monitor or mobile device screen. Slides made for video should be clear and direct, big and bold, with essential text displayed in easy to read fonts. Use bullet points and use the various animation techniques (often included in the editing and/or presentation software) to reveal text and showcase graphics. Strive to make slides visually compelling, adding graphics, icons, photos, even video excerpts that engage students and reinforce the teaching objectives. If you want to supplement your PowerPoint presentation with narration, use the add-in tool from Camtasia (or another editing app) to record and integrate into the presentation.
STEP 3: CREATE A VIDEO RECORDING
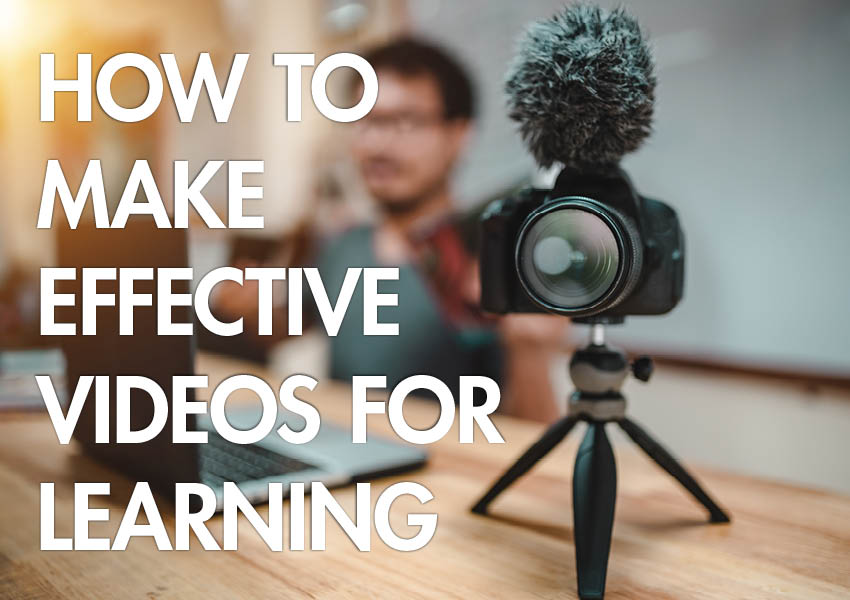
There are apps available that make creating instructional videos a lot less difficult than in the past and, in some cases, a lot more fun. In most cases, you will want to use a desktop computer with a fairly decent-sized monitor but a good laptop will work. Some of the editing apps can also be used on a tablet, but the functionality may be limited. There are a lot of editing apps to choose and each instructor will want to find the one that best matches their instructional needs. The apps range from the professional quality level of Adobe Premiere Pro and the consumer version Premiere Elements to the online editing apps like Camtasia, WeVideo, and Knowmia to mention just a few. The Multimedia Services department of Lone Star College-Tomball uses Camtasia to produce videos. The apps allow you to record video, narration, and import audio and video elements to enhance and enrich your presentation. One more important tool worth considering (but not required) is a good external microphone to record narration. Again, there are many good microphones at various price points, so do some research to find one that fits your needs.
STEP 4: ASK ENGAGING QUESTIONS
Like a good movie or book, unexpected twist and turns can help keep viewers and readers interested in what comes next. One of easiest way to keep students actively engaged in an instructional video is to ask questions. Challenge students to be ready to respond to questions that may pop-up while viewing. Ask questions at the beginning and then have students note their answers as they are revealed during the video.
STEP 5: BE YOURSELF
Remember you’re an instructor, not a newscaster…so be yourself! Present the material just as you would if you were standing in front of the classroom. In fact, don’t sit, but stand while you record. Move around a bit (not too far from the mic or camera) and gesture as you would in front of a room of students. Just as in any conversation, a monotone speaking voice will put listeners to sleep, so show some enthusiasm, emphasize words and phrases, pause for effect and repeat important points. One more thing to consider: you will sound more positive, pleasant and engaging if you smile while you speak. So as often as it’s appropriate, remember to smile!
So start planning, grab some recording software, be yourself, and have fun!
Just like all new skills, creating instructional videos will take some time to learn. It may take some practice speaking into a microphone or web camera but what new skill doesn’t require practice? Check out other educational videos on the web and cherry pick the techniques you find effective and use them. Finally, don’t be afraid to experiment and try new things, because no one knows your subject matter or your students better than you! And besides, if it doesn’t work the way you thought it might, just erase it and make another recording!
If you have questions regarding recording tools for video creation feel free to contact Monte Darland at Multimedia Services.